DIY Fabric-covered Puzzle Board
THE BACKGROUND STORY
Since I started following My Jigsaw Journal and chatting with it’s fab owner, Stacey, I have been envious of the great pictures she takes of her completed puzzles. Her photos are always well centered with the pretty rose colored board acting as a natural border around the puzzle. The best part being the pics are always taken vertically and not flat on the table like the ones I have been producing here.
Several weeks ago I started asking her a bunch of questions about her board and how she gets such great photos. I learned the board is covered with a faux suede type of fabric which allows the puzzles to “stick” and not slide to the floor in disaster when she’s taking the photos vertically. What a grand idea! I started looking right away at suede on JoAnn Fabric’s website and trying to figure out what might work well for my needs. The one thing I knew was that I did not want rose colored suede because, you know…I’m not a COMPLETE copy cat! LOL
I found a really nice dusty blue faux suede and it was reasonably priced too. I wasn’t sure how much to buy since I had not yet purchased the boards, but knew in my head they could only be a certain size based on my downstairs puzzle area. I decided to start with two yards (their minimum order for delivery) and see what happened. This turned out to be perfect. I was able to cover two of the three boards I got out of the sub-flooring (more on that in a second) I purchased yesterday (face mask ON).
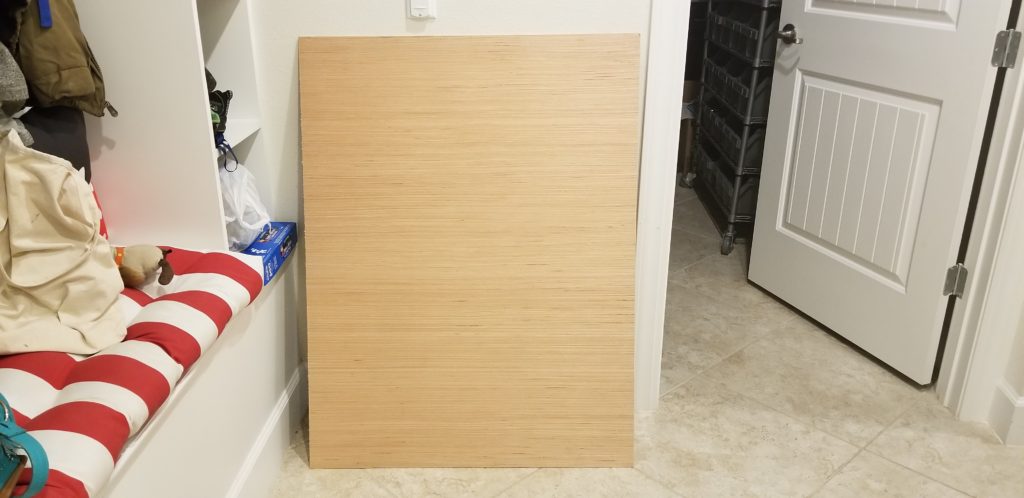
I found a nice sheet of very thin sub-flooring at Lowe’s for only $16 for an entire 4′ x 8′ sheet! I had them cut the board on their lumber cutter to a more manageable size for my kitchen work space. I decided 42″ x 32″ would be big enough to hold a 2,000 piece puzzle, and would be good for anything I would do downstairs away from my “big” puzzle board upstairs (a huge piece of MDF board which holds up to 6,000 pieces). I was able to get three boards out of the one sheet and only lost about 1/2″ or so on the last board, but it’s hardly noticeable. Later on, if I need to I can get another piece of faux suede from JoAnn’s and cover the last one, but I’m in no rush.
COVERING THE BOARDS
Stacey was great at explaining exactly how she covered her boards with the suede fabric, but I wasn’t convinced it would be as easy as she made it sound. It wasn’t too difficult, but it wasn’t quite as easy as I initially thought. And I fully admit hers likely turned out better!
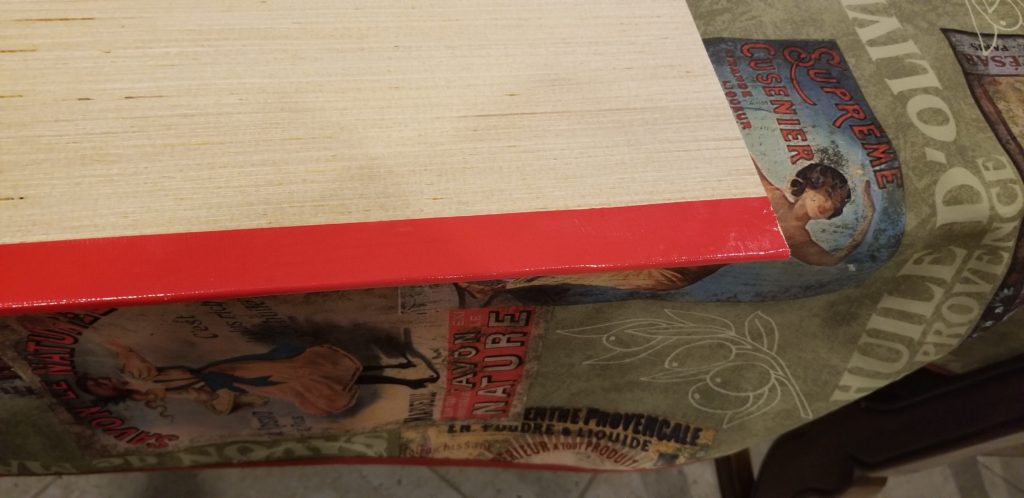
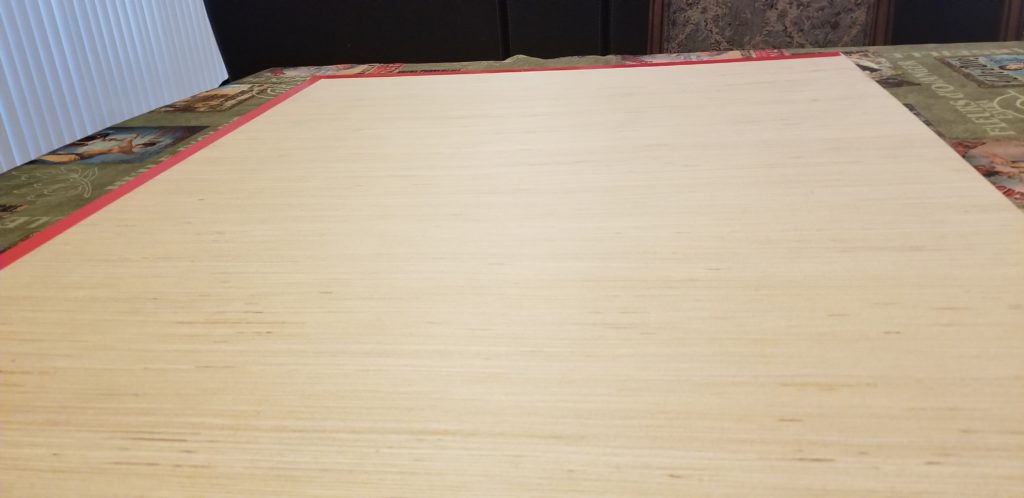
First I wrapped each edge of the board with red duct tape to cover any potential areas for splinters as they were a bit rough.
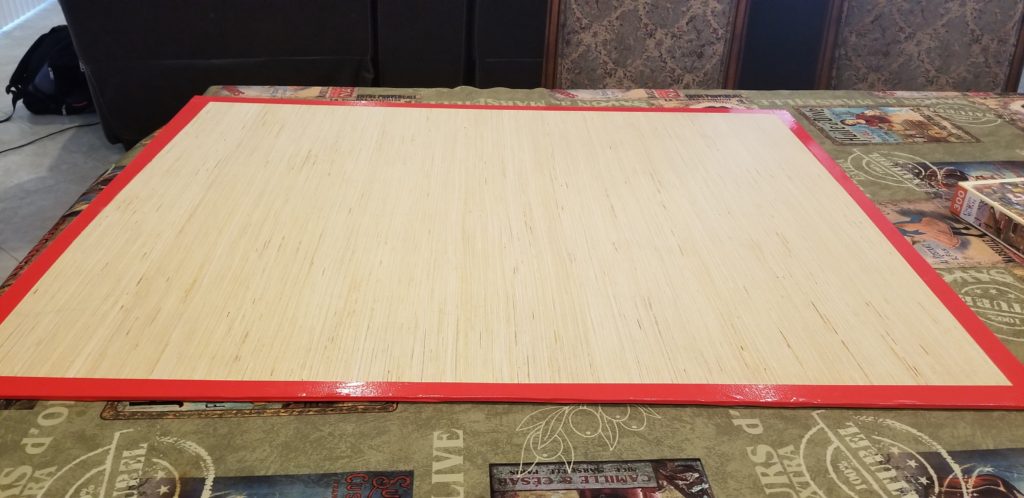
I laid the fabric on the dining room table, suede front side down and made sure it lay flat with no wrinkles. I placed the first board on top about two inches from the corners of the fabric. I didn’t want to waste a single inch since I knew I wanted to try and cover at least two of the boards. Once I had it lined up at the corner with a two-inch border around the corners of the fabric, I used good scissors to cut the remaining two sides from the rest of the fabric. End result was a piece of suede that was 2″ wider and 2″ longer than my board. Here’s where I had my first “issue” and where I would advise you to do it differently if you want to make one for yourself. I am not a seamstress or one who generally cuts fabric (as much as it disappointed my own mother to not pass down her love of sewing to her youngest child). Therefore, I did not have “pinking shears” which would have made cutting the suede a lot easier and more professional looking. So if you have some, I highly recommend using them. And if you don’t — well, built in excuse to put a pair of those babies and maybe a new puzzle or 5 in your Amazon cart at the same time! Hee hee
After the fabric was cut, I placed the board face down on the back side of the suede. Using an old credit card to dip into my bottle of Modge Podge, I placed a 1.5″ high band of glue along the edge of the board from one end to the other. Then, I pulled one side of the fabric over top of the edge of the board. Think of this process like wrapping a present. Start with the long side first and pull the paper (or suede in this case) over top of the gift (board) you are wrapping. Make sure to pull it as tight as you possibly can and then smooth the fabric down over the exposed glue on the edge of the board making a good, tight seal. Press it down firmly using your fingers or a clean plastic card to evenly spread the glue under the fabric. This is where I ran into my second issue — make sure to use a good amount of glue or the fabric does not want to stick. Don’t saturate it of course as it could seep through, but don’t do an extremely thin layer either. Be sure to wipe off any excess or exposed glue with a wet paper towel. You don’t want the glue to stay on and become sticky.
At this point, I like to let the glue dry a little bit before moving to the next side, but I don’t think you necessarily HAVE TO if you don’t want to. Try to move yourself to another side of the board to glue rather than turning the board and fabric to the next edge. The more you turn the board the more chance of wrinkles in the fabric ending up on the front.
In the same way, wrap the fabric around each edge of the board and fasten down with Modge Podge. Make sure it is pulled taut first to ensure no wrinkles or bubbles end on up on the front of your board.
After all four sides have been covered, let it dry for about 30 minutes. If you feel comfortable you have sealed it with enough glue and there are no areas where the fabric is lifting off the board then you’re done and can flip it over to a nice, smooth and clean puzzle board. But, if you’re like me and overly paranoid that somehow a month from now the fabric and glue are going to separate, place a strip of duct tape where the edge of the fabric and the board meet.
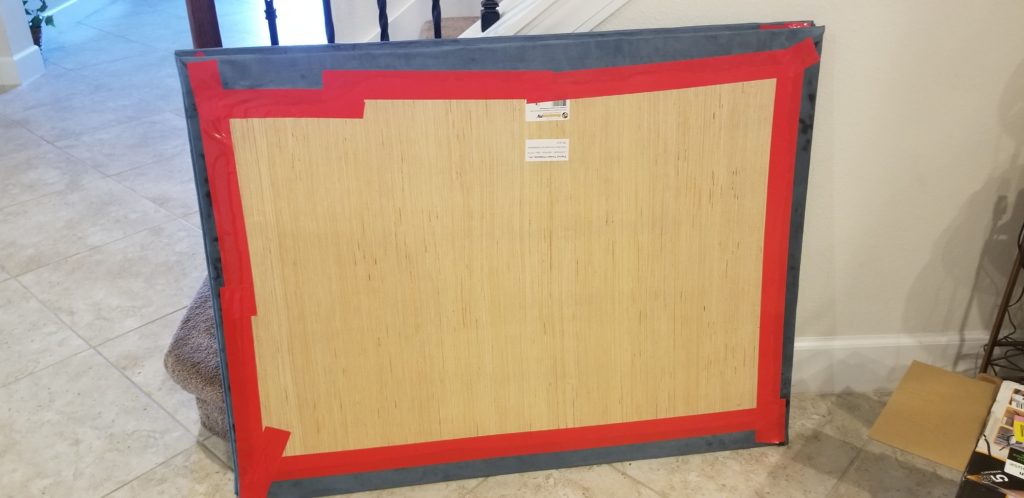
As you can see in the picture above, I did not do a great job of evenly cutting the fabric because of the lack of pinking shears and a good ruler. In other words, don’t be me! LOL
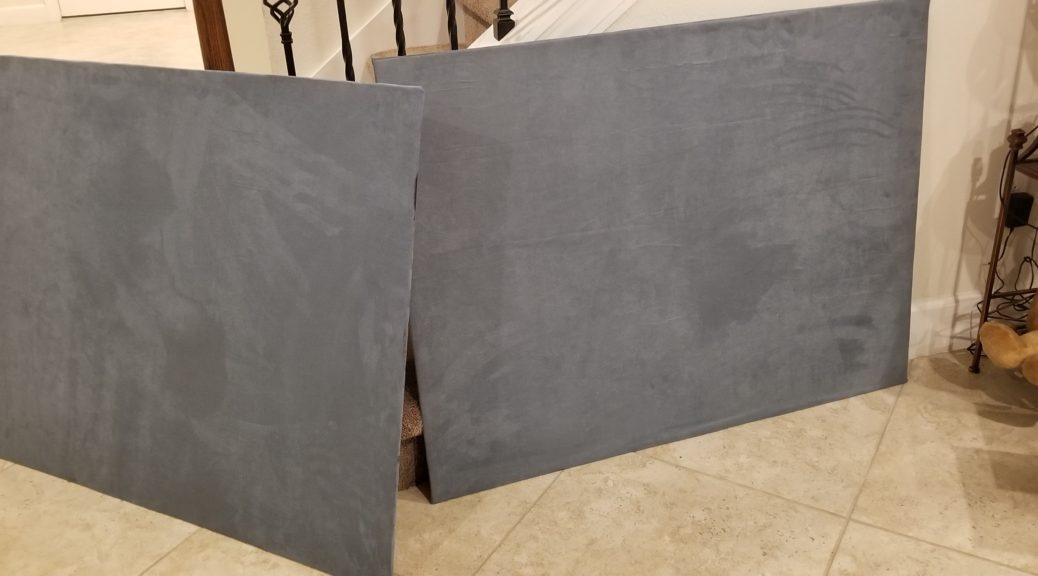
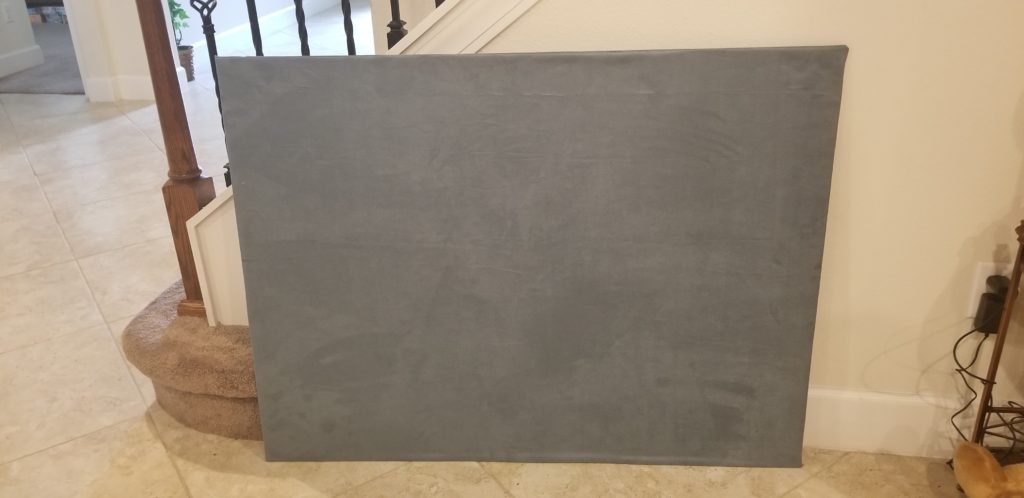
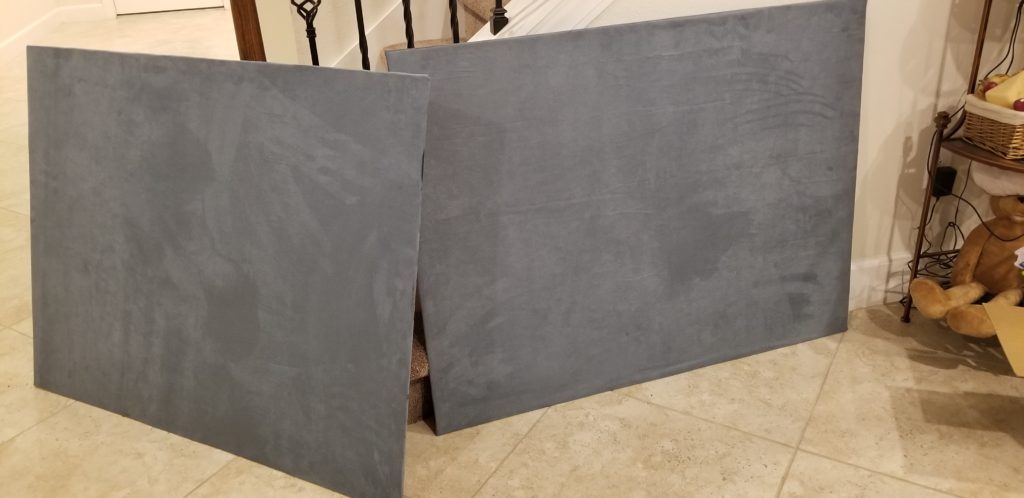
When finished, flip it over and voila — a beautiful, velvety feeling puzzle board where the pieces won’t slide around and you can take incredibly good pictures of your puzzles! I cannot wait to do my first puzzle on the new board.
6 thoughts on “DIY Fabric-covered Puzzle Board”
I would add that if you can to give yourself at least double the amount of extra fabric on the back – at least 4 inches. And also, it’s perfectly fine if you use enough glue to saturate the fabric. It’s on the back of the board and won’t be seen. My fabric was saturated in most places and there have been no issues.
I made my boards this way in 2016 and have done about 1000 puzzles on just the smaller one alone. They’re still going strong! ?
Awesome additional advice, Stacey. Thank you! I was scared to saturate, but now I know that will be okay for the next one I do.
I have seen a lot of boards using felt for their background.
Does the faux suede hold the puzzle pieces really well on an angle?
I am making one as a gift and I want to do it right the first time.
Yes,it sure does hold the pieces very well. In fact, you can tip the board just about straight up and the pieces wont move. They are great. Just be sure to stretch it as tight as you can before gluing down.
Very Nice. I absolutely love the color. I was trying to figure out the best material and color…either black or white. The dusty blue is perfect (is dusty blue the name of the color)? I would love to see your big puzzle table and also share the details of the puzzle board I am building with anyone interested.
Thanks for the awesome ideas, Puzzle Momma!
Hi Jonathan! So sorry it took me so long to respond here. I have been so busy the last few years that I put the blog on the back burner. If you end up getting this message, please write again and Ibwill be sure to get back to you right away.
Yes, disty blue is the fabric color.
Did you end up making your own board?